PHASE 01
Hand Control
Lines, forms and confident movement
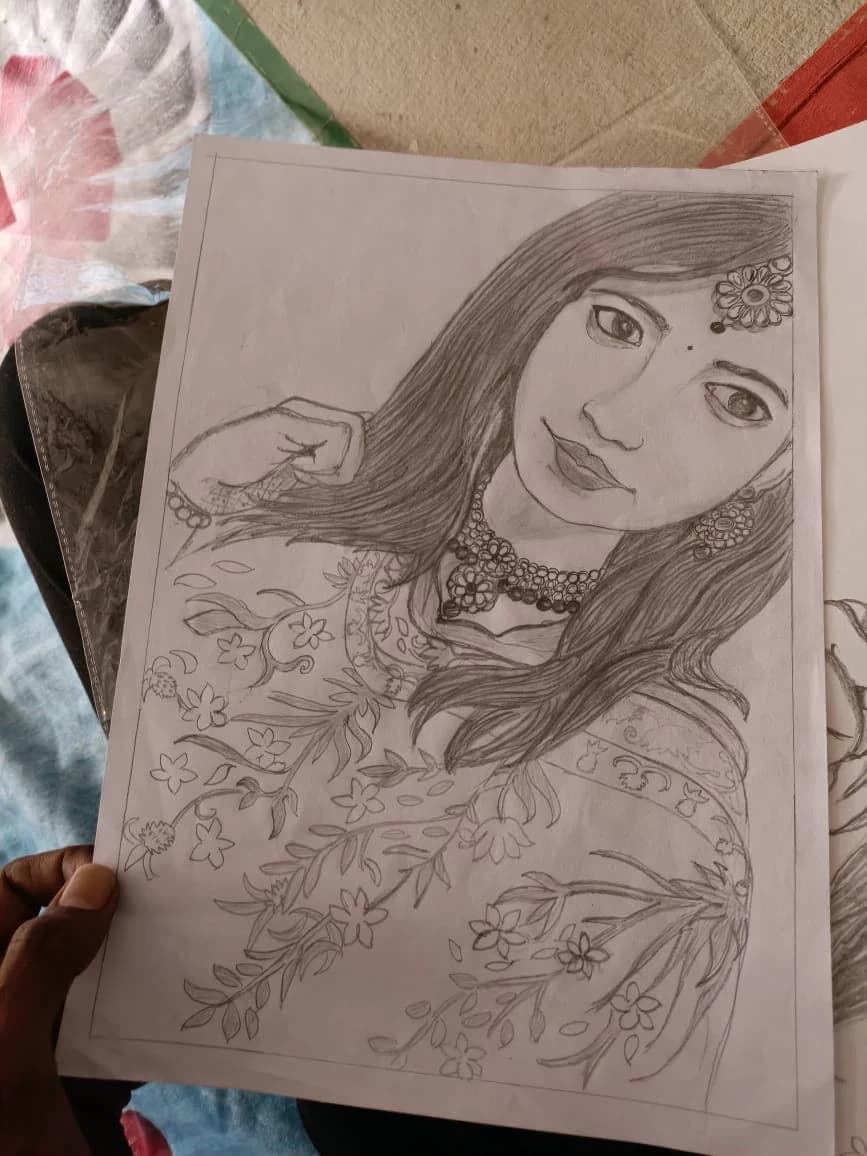
For enrolled students · what you'll actually do
14 exercises
14 exercises — tap any one to see what to do, what you learn, and what success looks like.
The first few strokes are always tight — you can hear the pencil's scratch against the paper, smell the faint waxy dust of a freshly sharpened 6B. The hand doesn't know what confidence feels like yet. But by exercise 10, something shifts: the lead glides instead of stutters, the page warms under your palm, and the line finally says what you meant it to.
What this phase builds
Focus & the tools you'll meet
Focus areas
- 01
Pencil grip variations (tripod, overhand, underhand) and when each serves the line
- 02
Line weight control through pressure and speed modulation
- 03
Pressure sensitivity — from whisper-light hatching to grounded shadow lines
Tools you'll meet
- Graphite pencils HB, 2B, 4B, 6B — a range of softness so tone can be built gradually
- Kneaded eraser — lifts graphite without damaging the paper tooth
- A3 cartridge paper, 120–160 gsm — sturdy enough for repeated shading
- Pencil sharpener and sandpaper block — keeps a long, controllable lead
- Blending stumps — soften and feather tone without using fingers
At a glance · shareable
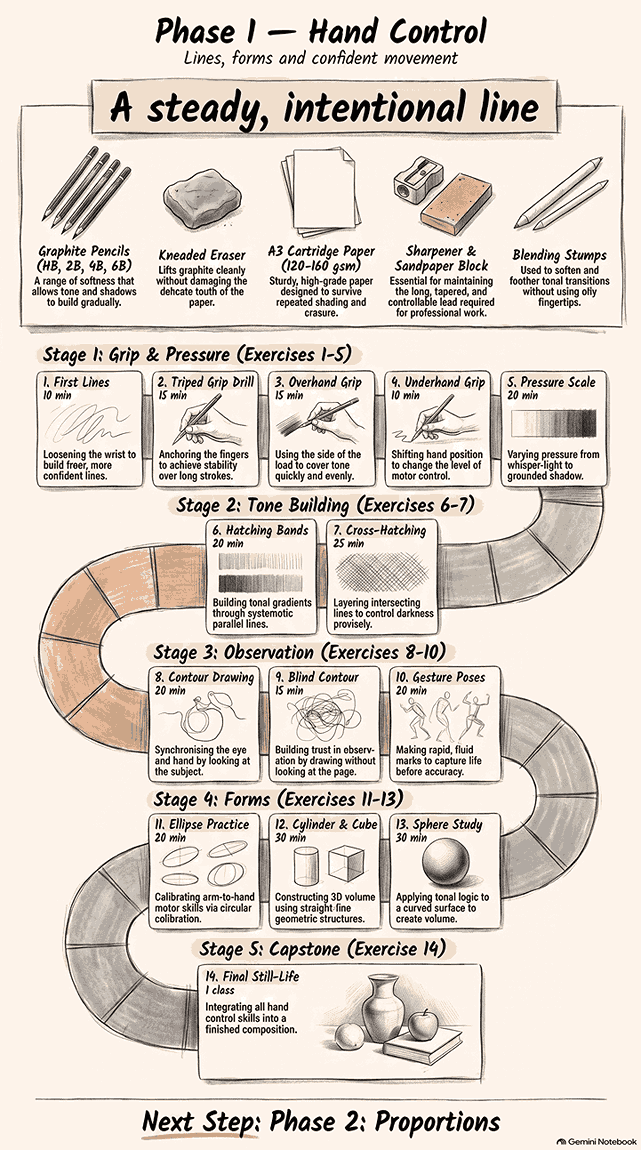
Phase infographic
A one-page visual cheat-sheet of the tools, focus, and practice in this phase.
For class · print
Slide deck
A printable exercise & tool deck — handy in the studio or to email home.
Open PDF ↗Download PDF ↓For parents
Parent handout for this phase
What your daughter will do, how long it takes, and how you can help at home.
Dear Parent
What this phase is
Welcome to the beginning of your daughter's artistic journey. At Meenakshi Art Work, we believe that a beautiful painting is only as strong as the hand that guides the brush. During this foundational five-week period, we use graphite-on-paper to train the hand for steady, intentional movement.
You may wonder why we don't start with color or canvas immediately. In our studio, we follow a strict medium progression: Pencil → Acrylic → Canvas → Oil. Every student must "earn" their way through these stages. This ensures they develop the motor skills and control required for advanced work so that when your daughter eventually reaches the canvas, she isn't fighting her tools — she is mastering them. This philosophy of the "steady line" is the starting point for every specific exercise she will perform.
What your daughter will actually do
Your daughter will progress through a ladder of 14 specific exercises. These are grouped into five stages to build her skills logically:
Stage A — Grip & Pressure
- First Lines — Using a loose wrist to create freer, more confident marks.
- Tripod Grip Drill — Mastering the traditional grip (holding the pencil like a pen) for stability in short strokes.
- Overhand Grip for Shading — Learning to hold the hand over the pencil to cover large areas of tone evenly.
- Underhand Grip for Detail — Experimenting with hand positions to learn how changing your grip changes the control you get.
- Pressure Scale — Training the hand to move from whisper-light hatching to deep, grounded shadows.
Stage B — Tone Building
- Hatching Bands — Using parallel lines to build up consistent tone systematically.
- Cross-Hatching Grid — Overlapping lines at different angles to control darkness with precision.
Stage C — Observation
- Contour Drawing — Focusing on the outlines of a subject to improve accuracy.
- Blind Contour — Drawing the subject without looking at the paper (often using a "no-peeking" paper plate over the hand) to sync the eye and hand.
- Gesture Poses — Capturing the "life" and movement of a form before worrying about detail.
Stage D — Forms
- Ellipse Practice — Mastering the circular forms that serve as the basis for most real-world objects.
- Cylinder & Cube Forms — Learning how basic 3D forms explain the structure of almost everything else.
- Sphere Study — A deep dive into understanding how light and shadow hit a curved surface.
Stage E — Capstone
- Still-Life of Three Objects — A final project where she combines all her new skills into one finished drawing.
These exercises are more than just drills; they ensure the hand follows the eye without hesitation.
How long it takes and how we judge progress
The Hand Control phase is designed to cover 14 exercises over approximately 5 weeks. However, our studio operates on a principle of true mastery rather than a fixed calendar.
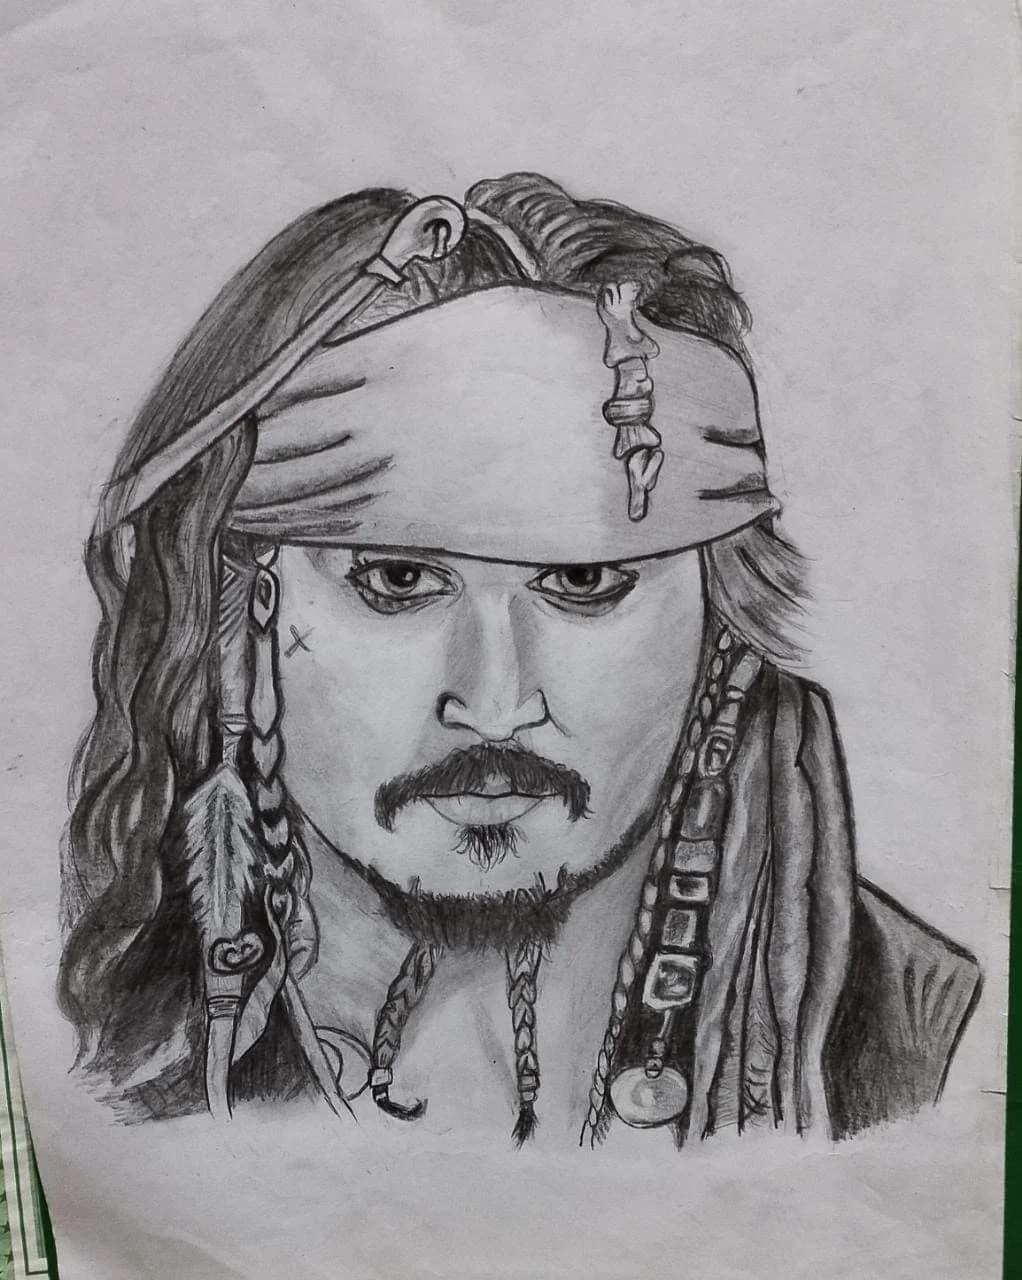
Progress is judged by the freedom of the line and the evenness of tone. We look for a shift from "hairy," hesitant lines to single, confident strokes. We provide one-on-one feedback to every student, comparing their work against 23 student examples that serve as our benchmark for readiness. While the student's skill is the focus, having the right physical tools makes that skill possible.
What she needs
To succeed, your daughter will need high-quality materials that help her understand the range of the graphite medium.
| Tool | Purpose |
|---|---|
| HB, 2B, 4B, 6B Pencils | A range of lead softness (H is hard/light, B is soft/dark) to build tone gradually. |
| Kneaded Eraser | A pliable eraser that "lifts" graphite without damaging the sturdy "tooth" (texture) of the paper. |
| A3 Cartridge Paper (120–160 gsm) | Sturdy paper that can withstand repeated shading and erasing. |
| Pencil Sharpener & Sandpaper Block | Used to maintain a long, tapered lead for better control and various line weights. |
| Blending Stumps | Compressed paper tools used to soften tone without using oily fingers. |
Even the best tools feel strange until a student overcomes the "beginner's awkwardness" of the first few weeks.
What's normal in the first weeks
It is common for students to feel a bit of physical awkwardness at first. Most children are used to moving only their wrists (the "writing" motion). We are retraining the body to engage the shoulder and elbow for long, expressive lines.
Expect the first strokes to look "tight," but a visible breakthrough point typically occurs around Exercise 10. You will notice a shift in confidence as the "stuttering" hand of Week 1 transforms into the "gliding" hand of Week 5. You can support this physical transformation easily at home.
How you can help at home
Support at home is about encouraging the right habits rather than teaching technique.
- Micro-Habits over Marathons — Encourage 5 minutes of daily "scribbles" or hatching practice. This is far superior to a single long session once a week.
- Celebrate the Process — We aren't looking for "pretty pictures" yet — we are looking for steady lines. Praise the confidence of a stroke rather than the likeness of a drawing.
- The Originality Rule — To build real skill, your daughter must draw everything by hand. Please avoid the temptation to "help" by drawing for her or suggesting she trace.
What she can do at the end
Upon completion of Phase 1, your daughter will be able to draw any form from observation with a steady, intentional line; the hand no longer fights the pencil. This milestone secures her foundation for the more complex lessons ahead.
Asking about batches and fees
Meenakshi Art Work is a women-only studio. We provide a focused, safe, and professional environment for girls (aged 6+) and women to learn without distraction.
- Class Times — 4:30 PM – 5:30 PM.
- Originality Rule — We maintain a strict policy of "No Tracing" and "No Teacher Finishing." Your daughter's work will be 100% her own.
- Logistics — For specific information regarding current batch availability and fee structures, please contact us directly.
With warmth,
Meenakshi Art Work
Where you land
What you walk away with
By the end of Phase 1 you can draw any form from observation with a steady, intentional line — and your hand no longer fights the pencil.
Curious about Phase 01?
Every phase is taught in person, one artwork at a time. Message us to ask about batches, timings, or where hand control might fit in your journey.
Message on WhatsApp →Watch this phase on YouTube →